[Easy Tips] How to Record Screen/Video on iPhone
Recording a screen or video on iPhone can be extremely helpful. Perhaps you're playing a game on your iPhone and would like to share your incredible performance with others. Maybe your device is doing something unusual, and you want to capture a video of this odd behavior to demonstrate to a tech expert. Or you're just curious to know whether you can record some video playing on your device and save it. No matter what your scenario is, you're in the right place. In this post, we'll explainhow to record video on iPhoneso you can save or share it.
How to Record Screen/Video with iOS Screen Recorder
If your iPhone is running with iOS 11 and later, then recording screen or video on the device requires no additional tool. With the help of an in-built screen recorder for iOS 11 or above, you can easily record a screen with audio on your iPhone.
Here's how to record video using an iOS screen recorder:
Step 1.To commence the process, you first have to add the Screen Recording features to the Control Centre. On your iPhone, head to "Settings">" Control Centre">" More Controls/Customize Controls". After that, click on the "+" button next to Screen Recording.

Step 2.Open Control Centre. To do so, swipe up from the bottom of the screen. On iPhone X or above, swipe down from the top-right corner of the screen.
Step 3.Tap on the "Screen Recording icon (a circle with a dot within it)">" Tap Microphone">" Start Recording" to commence recording.

Step 4.Following a 3-second countdown, everything on your screen will be captured. Once finished, click on the red blob or bar at the top of the screen to stop recording. Or you can open the Control Centre and tap the record button again.
Your screen recording video will be stored in Photos. So, go to "Photos" to access your recording and edit it if you want. Though this method requires no installation of the additional tool, this works only for iPhones running with iOS 11 or above.
Top 4 Apps to Record Screen/Video on iPhone
There are a lot of great apps available out there to record a screen or video on iPhone. So, you can take advantage of them to make your recording screen/ video task hassle-free. We know that determining which app to select for recording screen or video on the iPhone is a challenging task. That's why we've done heavy-lifting for you. Below we have reviewed the top 4 screen recording apps for iPhone. So, have a look and see which one you find most apt for you.
1.Record it!
Record it! can help you record your apps and games for tutorials, video demos, training videos, and games walk-through on your iPhone. The best part of the app is that it is capable of adding video reactions with audio commentary upon recording. The app even comes with an in-built video editor to enhance your recordings. It will even keep all of your recordings organized in one place so that you can easily access your recordings whenever you want to.

Key Features:
- Record everything, including video tutorials, games, and apps
- One-click solution to record the entire screen of your iPhone
- Support various video editing features such as trimming, rotating, changing background color and canvas, adjusting playback speed, and more
- Share recording to YouTube or other apps
2.DU Recorder - Screen Recorder
DU Recorder is another app recommended to record screen or video on iPhone. It is one of the powerful screen recorder and stream creator. It is capable of live-streaming your screen to Facebook, YouTube, and Twitch. With the help of the app, you can capture anything happening on your iPhone's screen, such as live shows, sports, games, and more. The app's unique thing is that it comes with live tools such as live pause settings, custom watermarks, and more.

Key Features:
- Support recording audio alongside capturing screen
- Come with powerful video editing features
- Support live streaming your screen to various social media platforms with numerous resolution options
3.TechSmith Capture
TechSmith Capture is one of the powerful screen recording apps that's part of Camtasia's collection of video apps. With its help, you can record your app demo and training videos on your iPhone with ease and quickly. You can even send or share the recording with friends or to a computer in a seamless manner.

Key Features:
- Keep all of your recordings well organized in one place
- Able to record anything happening on the screen of your iPhone
- Support recording one or more full-screen video clips utilizing the iOS system's global recording APIs
4.Screen Recorder °
Last but not least solution on how to record screen on iPhone is Screen Recorder °. It has a very simple interface and all the basic traits of a screen recording app. With the help of it, you can even record audio commentary and video reactions.

Key Features:
- Record anything happening on the screen of your iPhone
- Record audio and capture reactions
- 视频编辑功能,如平衡ing your recording
Bonus Tips: How to Record Screen/Video on Mac
If you're looking for a helpful solution to record your Mac screen, then look no further from EaseUS RecExperts for Mac. TheMac screen recorderis capable of recording any activity happening on the screen of your Mac. The best part is that this easy-to-use screen recorder demands no technical skills for your screen or video capture needs. It can record audio, screen, gameplay, and webcam on Mac.
Key Features:
- Capture orrecord YouTube video, zoom meetings, video tutorials, live streams, and more
- Support forschedule recording
- Take a screenshot of the Mac screen
Click the below button to get EaseUS RecExperts for Mac now.
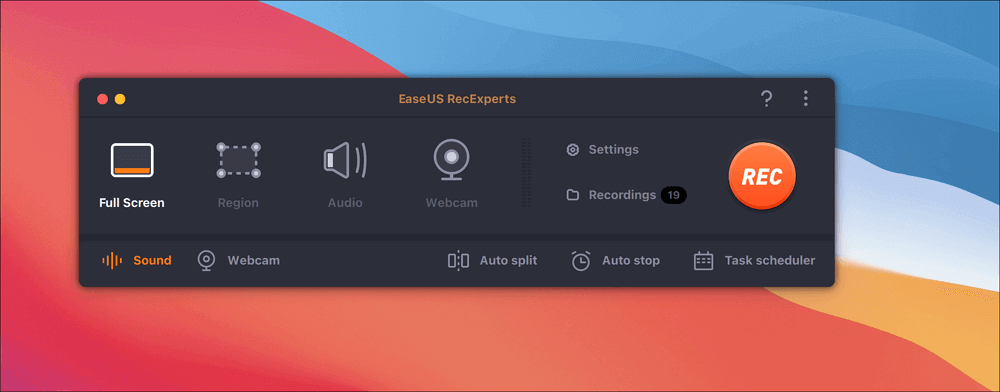
How to record screen on Mac:Step 1.Download and launch EaseUS RecExperts on your Mac. To capture the whole screen, click on the "Full Screen" button from the main interface. If you want to customize the recording area, choose the "Region" button.

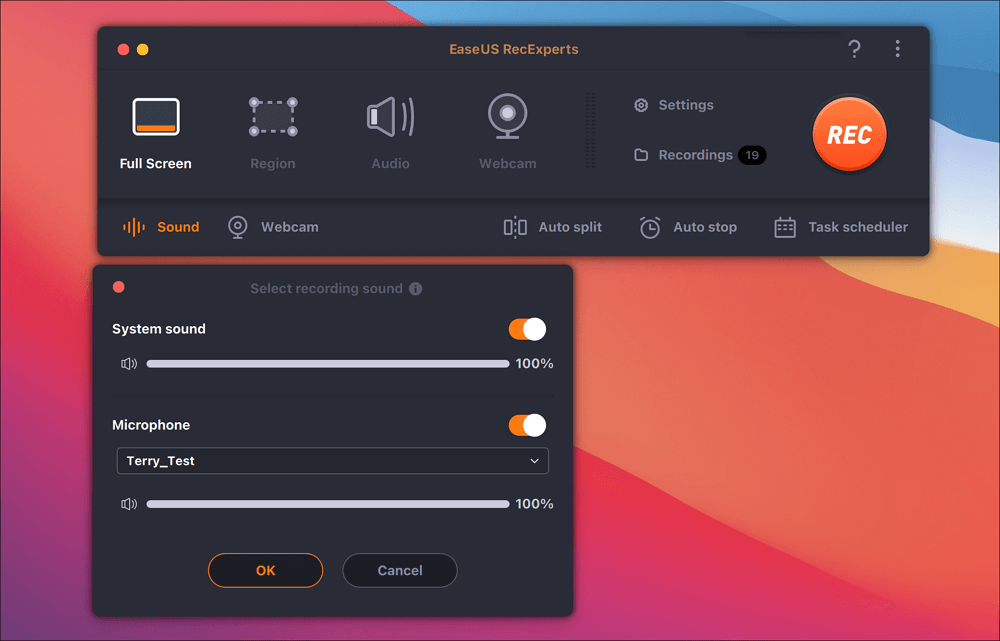
Step 2.To record the screen with audio, hit the Sound icon from the bottom left side of the toolbar. The audio resources can be your external sound or system audio. Based on your needs, enable the target option.

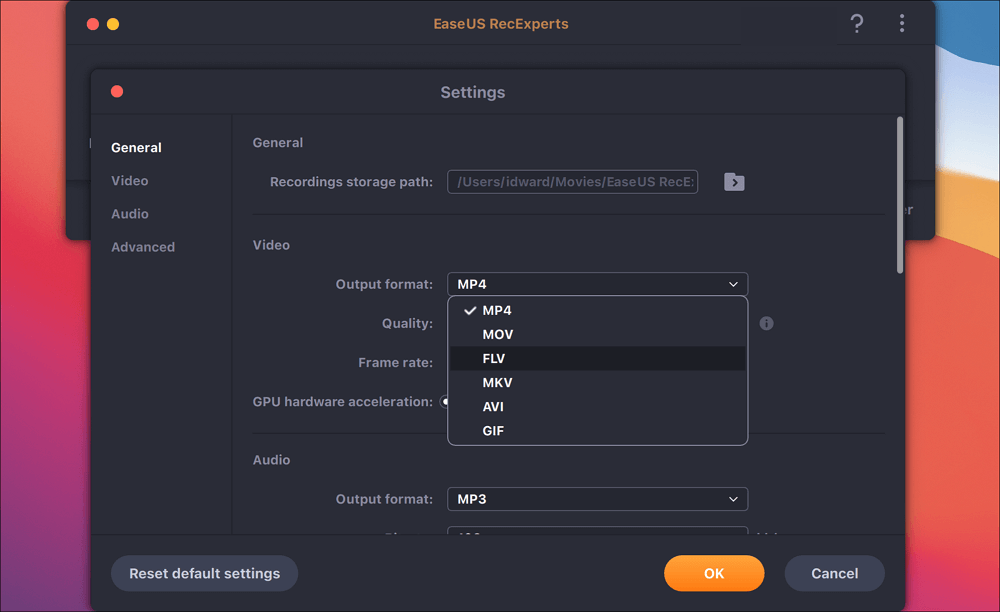
Step 3.Before capturing, you can change the output format of the recorded video by clicking "Settings" from the main interface. Then, scroll down the menu of Output format for Video. Choose the output type as you like.

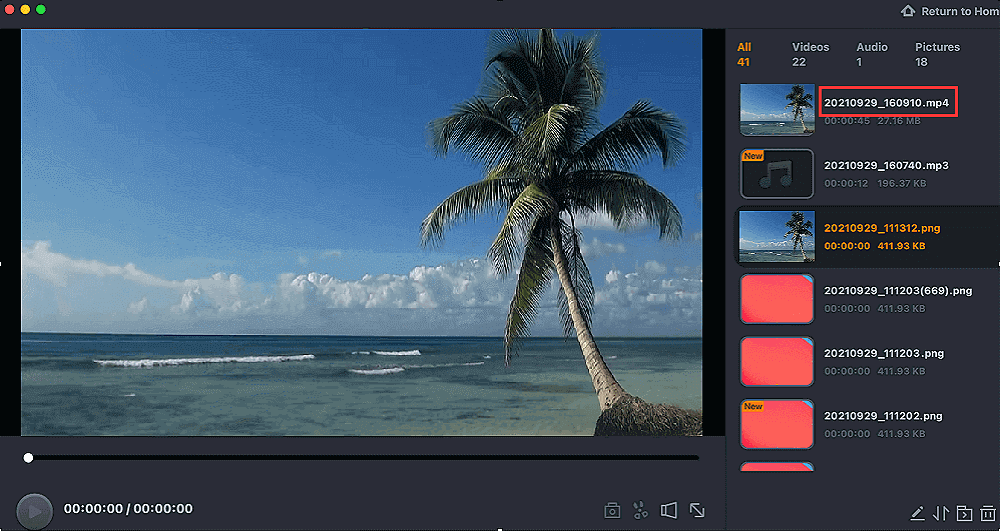
Step 4.Once done, click the REC button to begin recording. It captures anything displayed on your Mac screen. When you are done, click the Stop button. Then you can watch the recorded video from "Recordings".

Was This Page Helpful?
About the Author
Crystal Chen is very interested in technology products. Experiencing many technological applications, She is willing to solve users' problems through writing tech-related articles. Through her words, you can find various solutions to solve one issue.


