Q: "I have sync issues with iCloud: I have multiple calendars on my Mac. This is where I keep track of all my dates. I have activated all the proper settings for syncing across from iMac to iPhone. When I go to the Mac version and display the calendars. I see three groupings, which all I have ticked in the left panel. When I see the calendar on my iPhone, only that one calendar which shows up in the first two groups. What happened to the rest calendars? Why myMac calendar not syncing with iPhoneand I can't see them on my iPhone? Any suggestion?"
Generally speaking, as long as you have turned on iCloud for calendar and sign in the same iCloud account on all your iOS and OS devices, including iPad, iPhone, MacBook, iMac, the calendars will be synced among the devices automatically without any error. If you are unlucky to encounter Mac calendar not syncing with iPhone like said above, you can refer to the fixes below to troubleshoot.
![related articles]()
How to Get into a Locked iPhone
Can't remember the passcode on your iPhone? Try these simple and quick solutions to get into your locked iPhone without fuss.
How to fix Mac calendar not syncing with iPhone
1. Turn off iCloud Calendar and turn it on again
- Go to年代ystem Preference>iCloud.
- Turn off iCloud calendar byunchecking the boxof Calendars and chooseDelete from Mac. Then, turn off iCloud.
- Wait for about 30 seconds, go to年代ystem Preference>iCloud.CheckCalendar and turn on iCloud Calendar. Wait for a while, and go to your iPhone calendar to check the calendars are updated or not.
2. Make sure you have signed in the same iCloud account
Go to the年代ettingson your iPhone and check whether you have logged in the same iCloud account as that on Mac, which is the basic fix for iCloud not syncing problem.
3. Make sure you have checked all the calendars
Go to theCalendar Appon your Mac, tapCalendarsform the bottom center to check whether all the calendars are ticked or notin the left panel. If you the calendars you want to sync to iPhone haven't been ticked, they won't be updated.
4. Check your default account
Go to theCalendar Appon your Mac, and chooseCalendar>Preferences, On theGeneraltab, make sure that one of your iCloud calendars is the default.
How to sync data between iPhone and Mac when iCloud syncing not working on iPhone
If you need to transfer data from iPhone to Mac immediately but the iCloud still not working, how to make it possible? Here is an easy and free solution to move data from iPhone to Mac to update data by usingEaseUS MobiMover Free, the ultimate iOS data transfer tool to backup iPhone data to PC/PC without iCloud, transfer data from iPhone to iPhone without iTunes, and add contents to iPhone/iPad in a data-safe way.
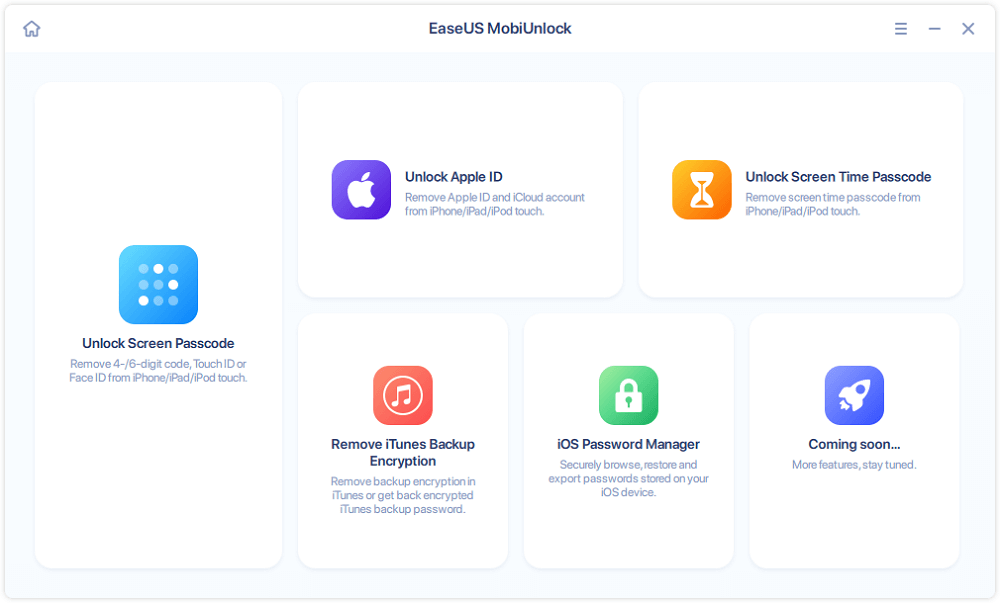
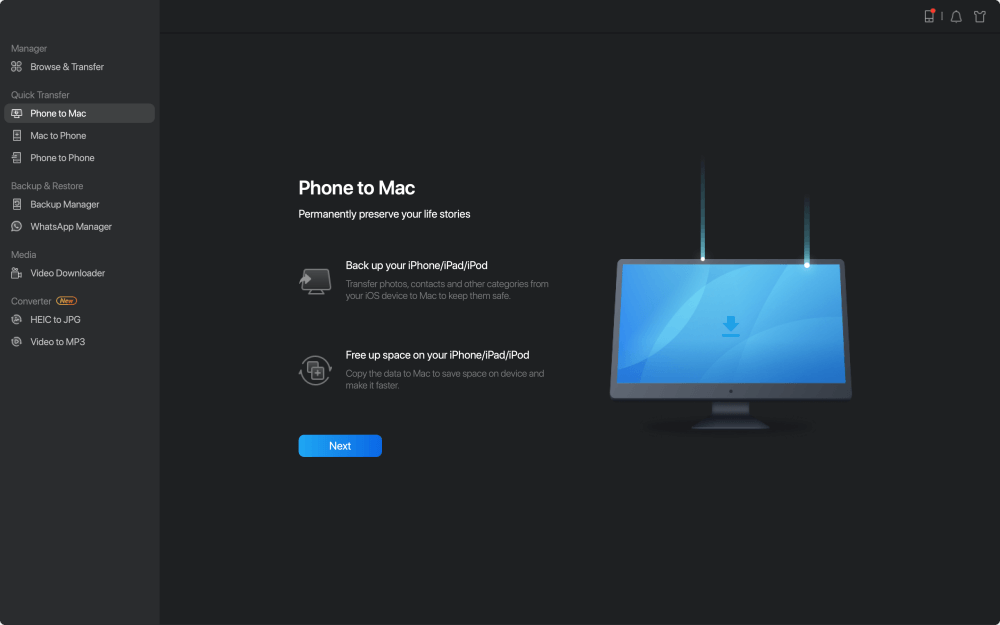
年代tep 1.Connect iPad to your Mac with a USB cable. Once connected, tap "Trust This Computer" on your device's screen. OpenEaseUS MobiMoverand select "Phone to Mac" on the main screen. Click "Next" to start transferring data from iPad to your computer.
![how to transfer files from iDevice to Mac - step 1]()
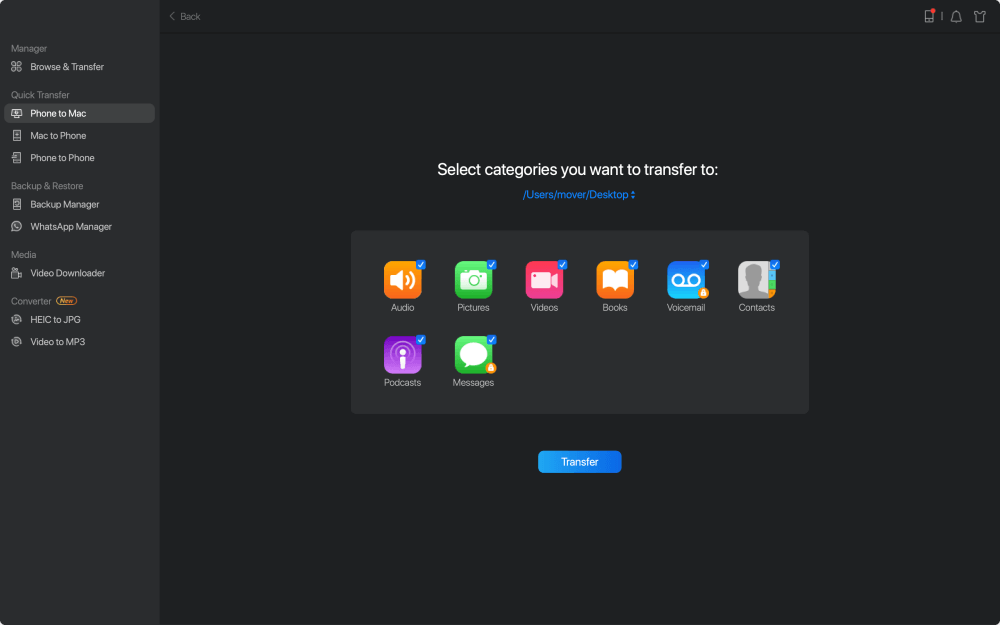
年代tep 2.MobiMover will read and load all the compatible files on your iPhone/iPad automatically. Choose Contacts/Messages/Pictures/Audio/Video or other specific types of apps to transfer. The transferred content is kept on Desktop by default, so you need to change the default location before clicking "Transfer".
![how to transfer files from iDevice to Mac - step 2]()
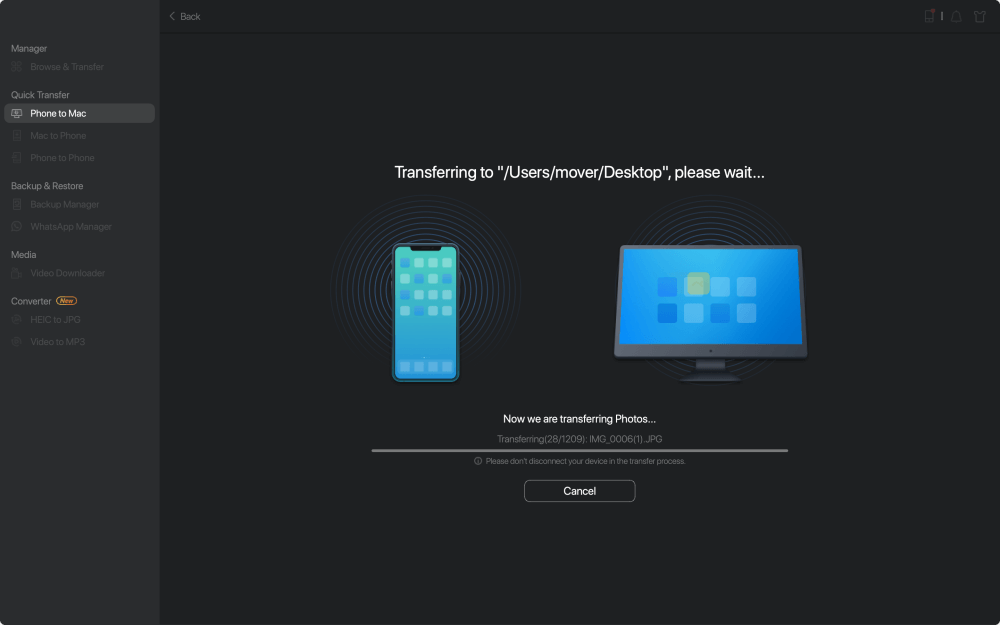
年代tep 3.MobiMover will immediately begin to transfer data from iPad to Mac without iTunes. Don't interrupt the USB connection during the course. When it completes, you can open and check the transferred content. Some files, like contacts and messages, are kept as .html files, so you need to use a web browser to open such a type of file.
![how to transfer files from iDevice to Mac - step 3]()
 HOT
HOT